Happy #nationaltequiladay!! I don’t think it’s a coincidence that it fell on a Monday. I’ve never met a margarita I didn’t like, but one of my favorite tequila cocktails is the paloma.
Photography: Elizabeth Ballard
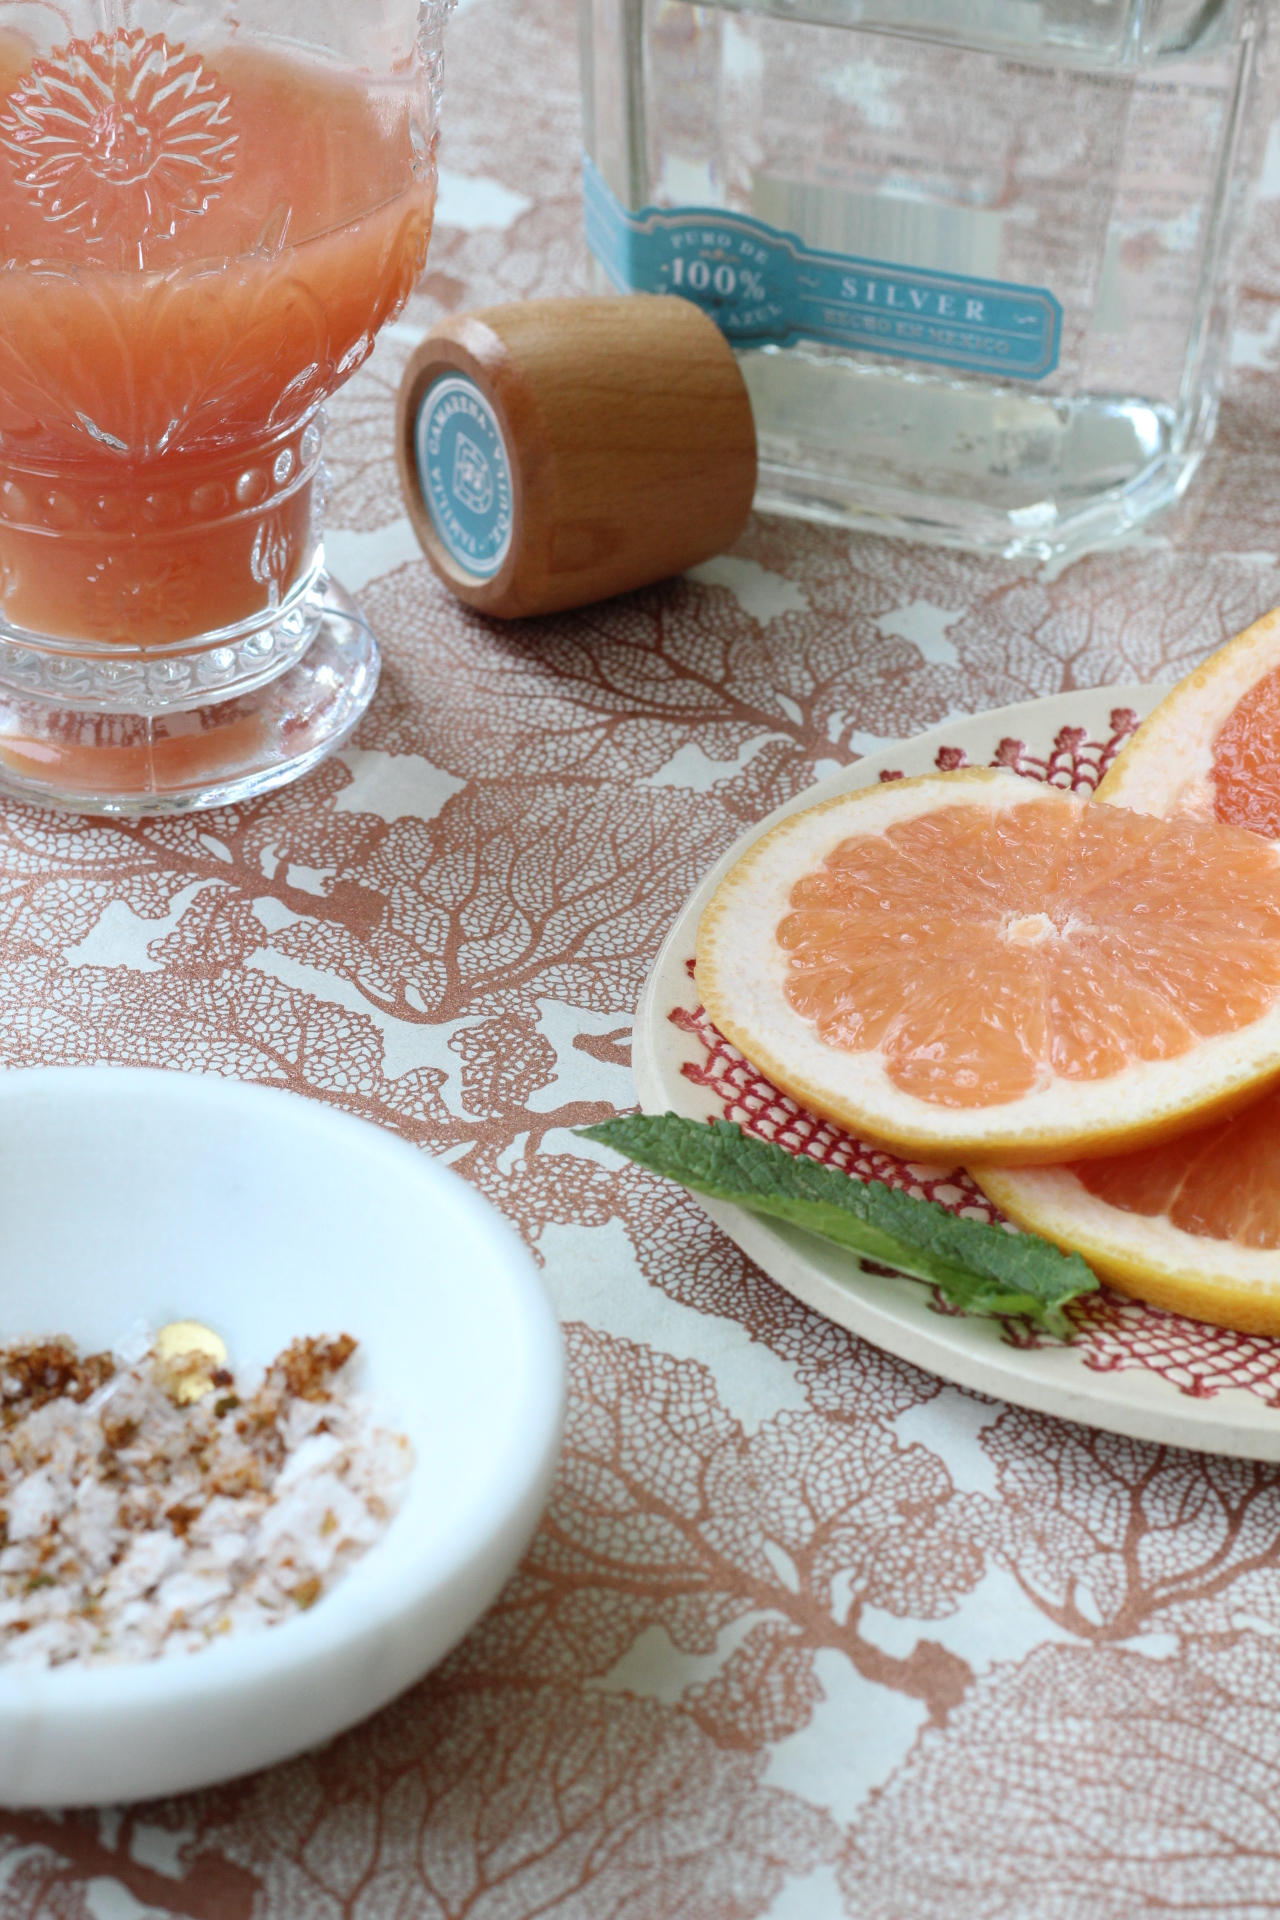
It’s easy to make and so refreshing- the perfect summer cocktail IMO. There are several variations, but this is is one is my go-to. I like to add a spicy/salty rim to give it a little kick. I had a blast shooting (and tasting) this little pink beauty. Cheers and hope you give it try!
Photography: Elizabeth Ballard
Ingredients:
Coarse sea salt mixed with chili lime rub for the glass
2 oz. (60 ml) sparkling water (I used lime LaCroix)
1 thin slice grapefruit
Instructions:
Spread the salt and chili lime rub on a small plate. Moisten the rim of a glass with the lime wedge, invert the glass onto the plate, then shake off any excess salt mixture. Fill the glass with ice.
In a cocktail shaker filled with ice, combine the tequila and grapefruit juice. Shake vigorously for 15 seconds, then strain into the prepared glass. Top with the sparkling water and stir gently to combine. Garnish with the grapefruit slice and enjoy immediately.
I’ve always had an interest in food photography and i’m inspired by so many incredible photographers and food stylists around the world. They set themselves apart by developing their own aesthetic and I wanted to do the same. Instead of taking a series of lessons, I wanted to consult with someone who could help me establish my own look/feel and brush-up on my photography skills. I made the decision to invest in a quality camera and find an incredible photographer to consult with me. Amy Stallard was the perfect match and we clicked immediately. This is just the beginning and i’m really looking forward to more sessions, but I am so happy with what we’ve created together.
I’ve include two of my favorites and I can’t wait for our next session. I’m not much of a baker, but knew the vibrant lemon and blueberry hues would look beautiful when photographed. You can find the easy scone recipe below because you’re going want to make them after seeing how delicious they look! Hope you enjoy the snaps and scones 🙂
Photography: Elizabeth Ballard
Blueberry Scones with a Lemon Glaze (courtesy of Tyler Florence)
Ingredients
Blueberry Scones:
2 cups all-purpose flour
1 tablespoon baking powder
1/2 teaspoon salt
2 tablespoons sugar
5 tablespoons unsalted butter, cold, cut in chunks
1 cup heavy cream, plus more for brushing the scones
1 cup fresh blueberries
Sift together the dry ingredients; the flour, baking powder, salt, and sugar. Using 2 forks or a pastry blender, cut in the butter to coat the pieces with the flour. The mixture should look like coarse crumbs. Make a well in the center and pour in the heavy cream. Fold everything together just to incorporate; do not overwork the dough. Fold the blueberries into the batter. Take care not to mash or bruise the blueberries because their strong color will bleed into the dough.
Press the dough out on a lightly floured surface into a rectangle about 12 by 3 by 1 1/4 inches. Cut the rectangle in 1/2 then cut the pieces in 1/2 again, giving you 4 (3-inch) squares. Cut the squares in 1/2 on a diagonal to give you the classic triangle shape. Place the scones on an ungreased cookie sheet and brush the tops with a little heavy cream. Bake for 15 to 20 minutes until beautiful and brown. Let the scones cool a bit before you apply the glaze.
Technically you should make this simple lemon glaze in a double boiler (i.e. over a pot of simmering water with a heatproof bowl set on top) but it’s even simpler to zap it in the microwave. Mix the lemon juice and confectioners’ sugar together in a microwave-safe bowl. Stir until the sugar dissolves. Add the lemon zest and butter. Nuke it for 30 seconds on high. Whisk the glaze to smooth out any lumps, then drizzle the glaze over the top of the scones. Let it set a minute before serving.