Keep your Sanity During the Holiday Travel Season

Tis the season for kindness, generosity, and merriment.  And then you arrive at the airport to angry sweaty people and invasive security scanners that make you resent the holiday season.  For the past 9 years, I’ve had the luxury of traveling back home for every holiday.  Needless to say, I like most people are not looking forward to the endless crowds and delayed flights.  However, I’ve found a few helpful tips to keep my sanity while traveling and hope you find them useful as we move into a busy travel time.  And remember, you’re not alone!

photo (2)

  • Leave early: Being a city dweller myself, you never know how traffic or the impending security line is going to be.  Best to give yourself some extra time to account for the unexpected.
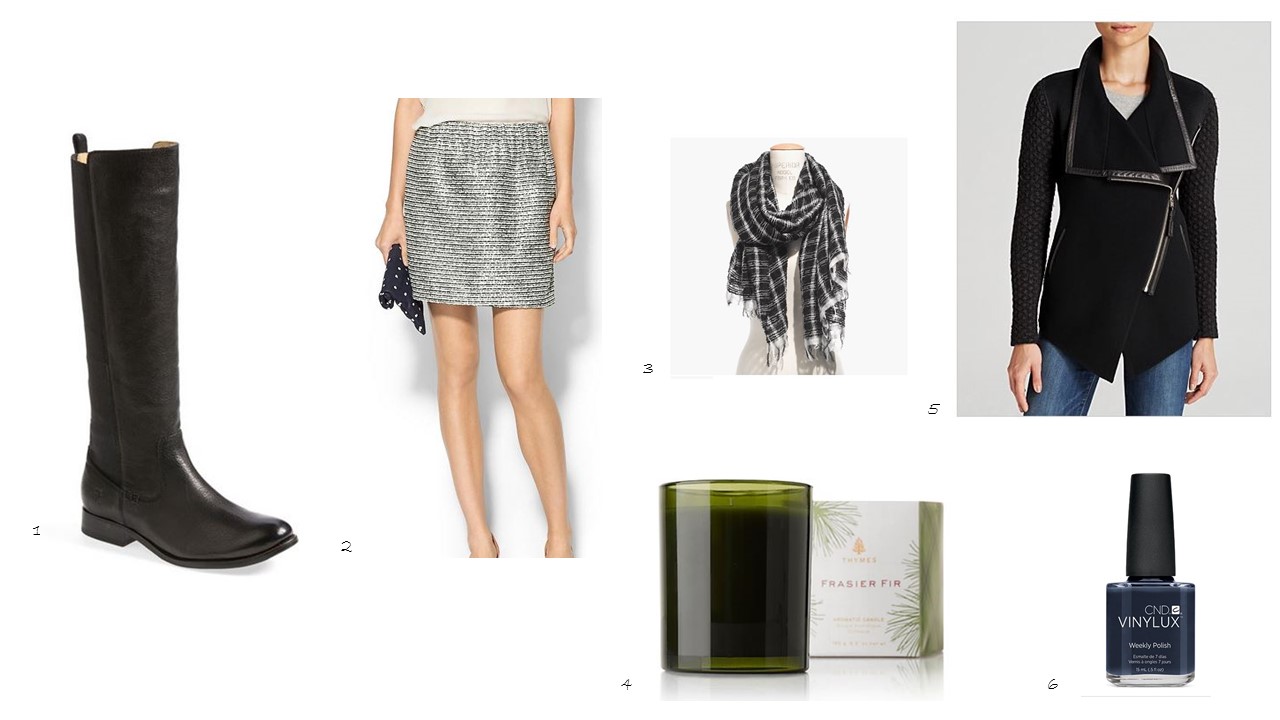
  • Dress Comfortably: Layers are your friend and bring an over sized scarf just in case you need to cozy up.
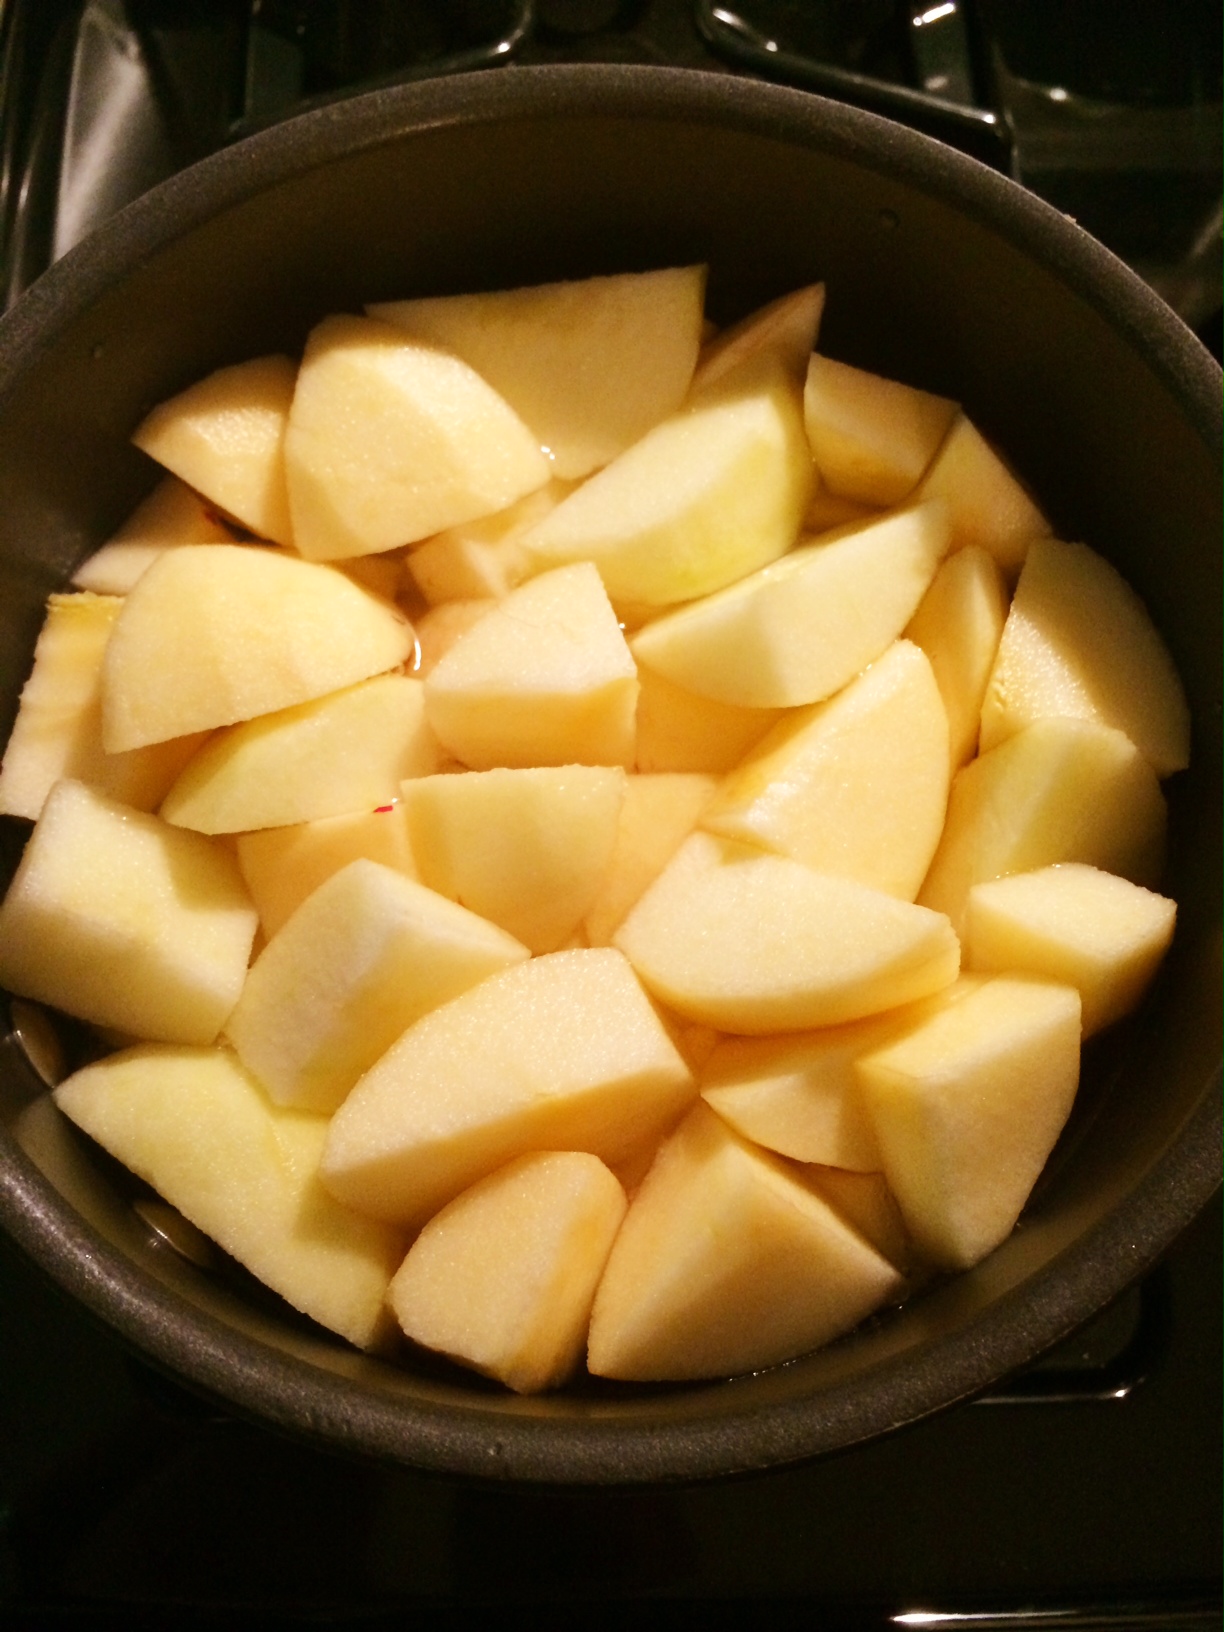
  • Pack Snacks: Being hangry just adds another element to an already stressful day.  Grab a few protein bars, turkey jerky or almonds to help satiate your rumbling tummy.
  • Stay Connected: Download the latest travel apps to help while you’re on the move.  You might also want to check out one of these:
    • FlightStatus gives you real-time updates on delays, baggage numbers and more
    • GateGuru gives you approximate times you’ll spend in security
    • SitOrSquat provides you with the cleanest bathrooms when you’re on the road
    • Waze gives you real-time traffic and road info
  • Travel Early or Late in the Day: Flight stats show planes traveling earlier in the day have a better on-time performance.  And if your flight is cancelled, you will have an option of taking a flight later in the day.  If you’re driving, it’s best to drive when everyone else is asleep – early morning or late at night if you’re a night owl.
  • Pack Light: I’m terrible at following this rule, but having a carry-on really helps expedite the airport process.  If you struggle with packing like I do, I’ve found the PackPoint packing list builder app to be extremely helpful.  It generates a customized list of what you should pack based on your agenda, weather, etc. – Brilliant!
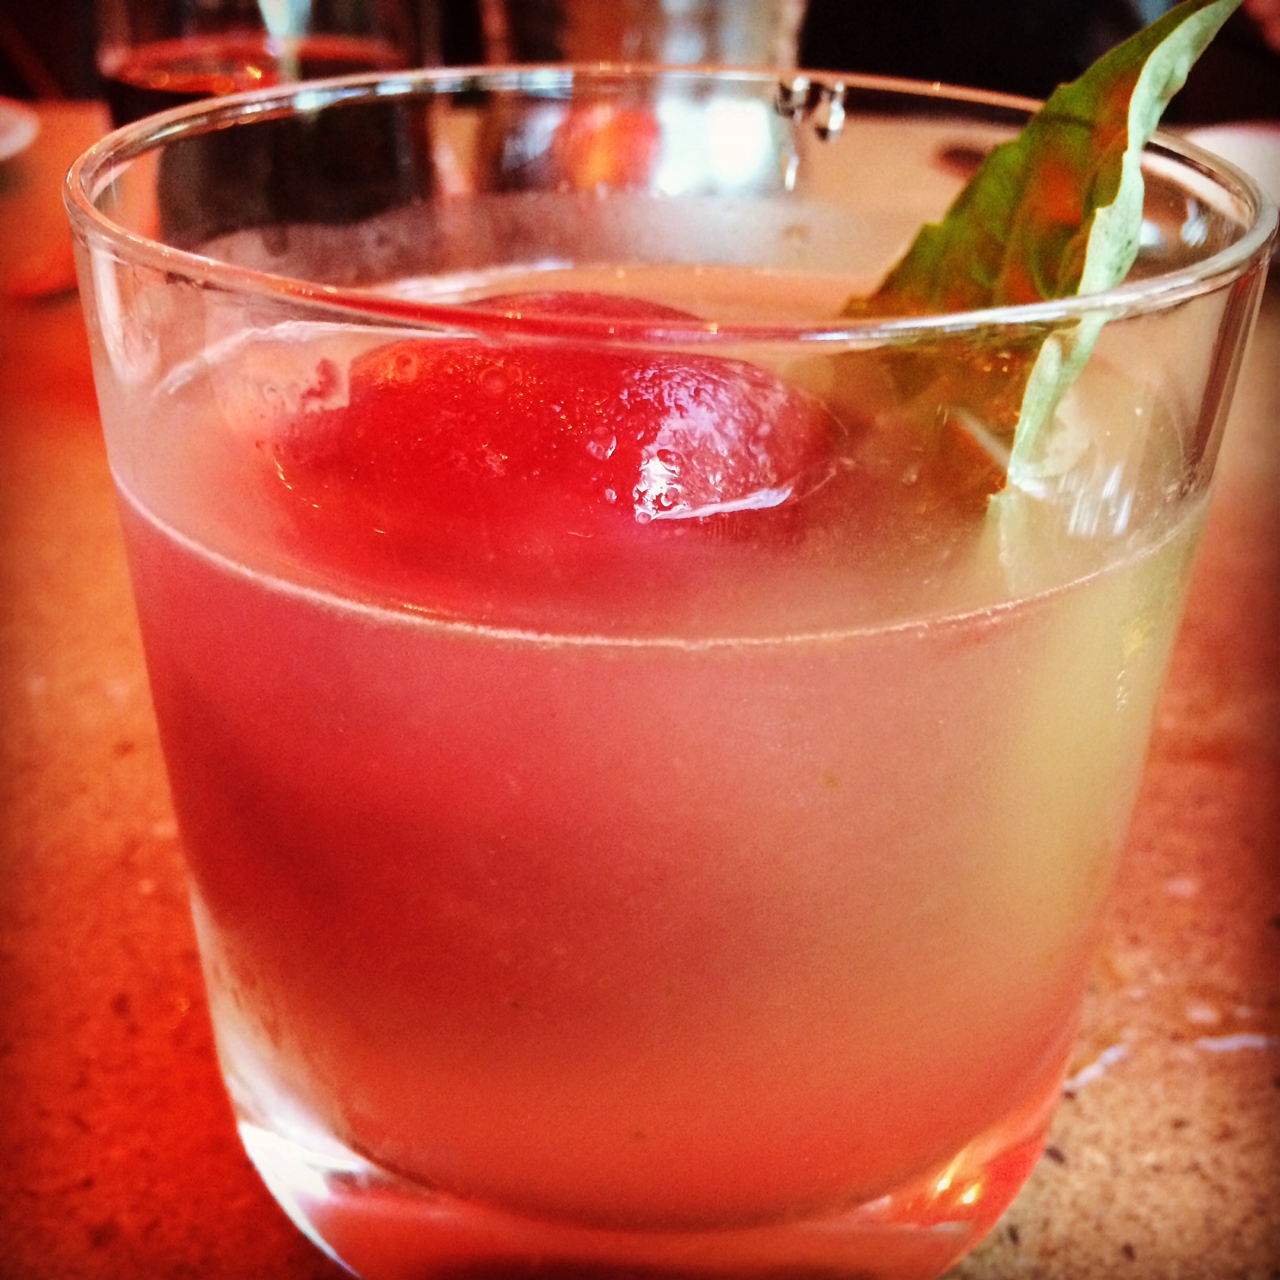
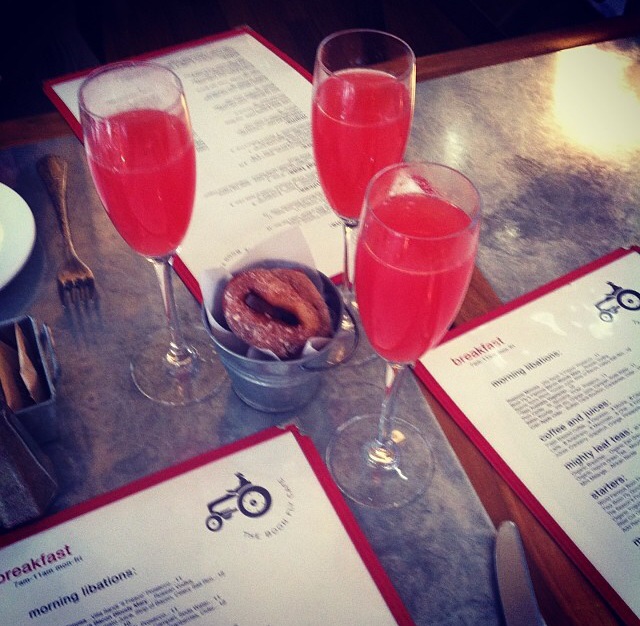
  • If all else fails, know when to give up and have a cocktail 🙂

Friendsgiving

Thanksgiving is almost here and I’m looking forward to a few days off with my fam back in the Mitten.  There’s nothing better than spending time with family over scrumptious food and copious amounts of wine – well at least that’s how my family rolls!

Last weekend marked the 4th annual Friendsgiving with some of my dear friends to prepare for the main event.  We kicked off the first one with a traditional Thanksgiving meal and decided to evolve it over the years.  This year, the star of the show was the roasted beer can chicken (recipe to come).  It was out of this world amazing and I’m so glad my friend John decided to take on the challenge.

I was tasked with bringing a few appetizers and immediately thought of two I’ve been dying to try.  Both of them were easy to make and a smashing success.

Phyllo Cups with Brie and Cranberry Sauce

photo (22)

Ingredients:

  • 2 boxes (15 count) Mini Phyllo Cups (sold in the freezer aisle)
  • 7 ounces of Brie
  • 1 can Cranberry Sauce

Instructions:

Heat your oven to 350 degrees. Remove the phyllo cups from the packaging and arrange them on a baking sheet. Fill each cup with a 50/50 mix of Brie and cranberry sauce. Bake for 15 minutes and serve.


Creamy Brussels Sprout Shallot Dip

photo (23)

Ingredients:

  • 2 1/2 cups Brussels sprouts, roughly chopped
  • 2 Tbsp olive oil, divided
  • 1 shallot, chopped
  • 2 cloves garlic, minced
  • 1/2 cup sour cream (light or regular)
  • 4 ounces (1/2 package) 1/3 fat cream cheese
  • 1 cup low-fat shredded mozzarella cheese
  • 1/4 cup grated Parmesan cheese + more for topping
  • 1/4 tsp each sea salt and ground black pepper
Creamy-Brussels-Sprout-Dip-minimalistbaker.com_
Courtesy Minimalist Baker

Instructions:

  1. Heat a cast iron or oven-safe skillet over medium heat. Once hot add 1 Tbsp olive oil, shallot and garlic. Stir constantly as to not to let it burn.
  2. Add Brussels sprouts, 1/4 tsp each sea salt and pepper and stir. Cook for 3-4 minutes or until tender and slightly wilted and then remove from heat, turning off burner as well.
  3. In a separate bowl mix together sour cream, cream cheese, mozzarella and Parmesan cheese, another pinch of salt and pepper and stir. Add Brussels sprouts mixture to the bowl and stir until well combined.
  4. Use additional Tbsp olive oil to lightly grease the cast iron so the dip doesn’t stick. Spoon dip back into the skillet and bake at 375 for 11-13 minutes or until hot and bubbly. Serve with tortilla chips.

An Apple a Day…

I recently went apple picking in Wisconsin with my girlfriends for our annual adventure.  There were plenty of options to choose from which had my mind swirling around what I was going to do with my peck of apples.  The crisp weather lends itself nicely to wholesome apple treats.  Applesauce immediately came to mind and I wanted to share this easy and delicious recipe.  Added bonus- your home will be filled with the cinnamon apple goodness.

photo (21)


Ingredients:

  • 8-10 apples peeled and chopped (type is up to you, but I like a variety)
  • 1/2-1 tbsp ground cinnamon
  • 1-2 tbsp butter (optional)
  • 2-3 packets of Truvia (you can use regular sugar if you prefer)
  • 2 cups water

photo 2 (3)

Directions:

  1. Fill sauce pan with 2 cups of water and add the peeled/chopped apples- bring them to a simmer to slowly cook the apples down for about 20 min with the lid on to trap the heat
  2. Check on the apples slowly stirring them as they simmer and continue to reduce (note:  apples have water in them so you might need to remove some of the water for a chunkier consistency)
  3. As the apples start to reduce, add in the cinnamon and sugar starting with the smaller amounts- you can always add more
  4. Once combined, return the mixture to a simmer uncovered
  5. Take a taste to see if it needs more cinnamon and sugar- it all depends on the apples you choose and what you prefer
  6. Once you’re  happy with the flavor and consistency, add in 1-2 tbsp of butter to finish
  7. Enjoy!

photo 3 (1)


Spooktastic Treats

Happy Halloween!  I’ve talked with friends and work peeps and it seems like a lot of people are having parties or attending them- gotta love a Friday Halloween!  The immediate question was “what do I make”?  I’ve assembled some of my favorites to help inspire you.

Have a great weekend!

Mummy Baked Brie

Mummy baked brie
Courtesy babble.com

Ingredients:

  • Flour, for dusting
  • Homemade or store-bought single pie crust, chilled
  • One 8 ounce wheel of Brie
  • 2-3 Tablespoons jam (use your favorite kind)
  • 2 whole pecan halves
  • One large egg white, lightly beaten

Directions:

  1. Preheat oven to 400 degrees F. Have a rimmed baking sheet ready.
  2. Lightly flour a piece of parchment paper. Place the dough on top and lightly flour the dough. Roll dough into a very large rectangle, about 1/8″ thick.
  3. Cut a large circle, about 2-3″ larger, on each side, than the Brie. Remove the dough scraps and squish them together into a ball to re-roll.
  4. Spoon the jam into the center of the circle and place the Brie on top.
  5. Start folding and wrapping the dough over the Brie. Push the dough together to seal it. Once all the dough has been folded, carefully turn the Brie over. Transfer it, still on the parchment, onto the baking sheet. Set aside while you roll the dough scraps.
  6. Lightly flour a clean, flat surface (or another piece of parchment) and re-roll the dough scraps into another rectangle. It should be about 1/8″ thick. Use a pizza cutter or sharp knife to cut the dough into strips. (I prefer to cut them lengthwise and trim them later as I’m layering them over the Brie.)
  7. Brush the entire surface of the dough-wrapped Brie with egg white. Start layering the dough strips over the Brie, brushing egg white on each strip after it’s been placed so the next strip adheres to it. Layer in a decorative way so it looks like a mummy. Be sure to leave a little space at one end for the eyes to “peek” out.
  8. After all the dough strips have been placed, brush the entire surface of the dough with egg white one last time. Place two pecan halves into the dough for eyes.
  9. Bake for 30 minutes, or until golden brown. Let cool for a few minutes before serving so the cheese doesn’t ooze out too much when it’s cut open.
  10. Serve warm or at room temperature.


Apple Bourbon Pumpkin Sangria

Drink
Courtesy kirantarun.com

Ingredients:

  • 2 small honeycrisp apples, thinly sliced
  • 1 orange, thinly sliced
  • 1/2 tsp salt
  • 1/2 tsp ginger powder
  • 1 tsp whole cloves
  • 3 cinnamon sticks
  • 2 tbsp pumpkin butter or puree
  • 1 cup apple or pumpkin flavored bourbon
  • 2 cups apple cider
  • 1 bottle of pink rosé wine
  • ice cubes

Directions:

  1. Add all ingredients (except ice cubes) into a tall large pitcher. Stir to combine and refrigerate for at least 24 hours.
  2. To serve: Add ice cubes into glasses. Top it off with chilled sangria and fruits. Cheers!

Spider Web Nacho Dip

Dip
Courtesy stylishlyeverafter.com

Ingredients:

  • Refried Beans
  • Mexican Cheese Blend
  • Diced Tomatoes
  • Mild Taco Seasoning
  • Guacamole
  • Sour Cream
  • Plastic Spider

Directions:

  1. Mix Refried Beans with Taco Seasoning..Put as first layer on tray.
  2. Then add drained diced tomatoes on top.
  3. Next add shredded cheese then guacamole.
  4. Finally with an icing bag, pipe sour cream over layered dip to look like a web.
  5. Add a plastic spider.
  6. Put chips in a plastic cauldron beside tray.

A Taste of Napa

I just returned from the most incredible wedding for my dear friends Jaime and Marc in Napa, CA.  She looked exquisite and it was the perfect backdrop to the start of their marriage.  When we heard the wedding was going to be in Napa during harvest season, I instantly went into planning mode.  To ensure we made the most out of the long weekend, I put together a spreadsheet (nerd alert) to help us maximize our Napa experience.  I’ve been fortunate enough to have been to Napa before and did a lot of research on planning the perfect trip and thought I would share some tips with you.  Pop open your best Pinot and happy planning!  Cheers!

photo 1 (2)

  • Getting Around: Securing a rental car and designated driver is a must!  Napa is full of options from Uber cars to limo drivers.  My sister introduced me to a service called Destination Drivers who are fantastic.  They charge an hourly rate and will come directly to you.  The best part- they will drive your rental car around so you don’t have to.   I’ve had the best experience working with them.  All of the drivers are professional and local which offers a great perspective and recommendations on hidden gems.
  • Sippin’: Some wineries allow walk-ins, but it’s always a good idea to have a few reservations lined up to maximize your wine tasting experience.  If you’re traveling with more than 5 within your group, they usually require a rez.  The wineries love having guests and are always happy to try to accommodate.  There are so many wonderful vineyards and tasting rooms to visit, but here are a few of my favorites:

photo (20)


  • Good Eats: What goes better with wine than food!  There’s no shortage of restaurants that range from high-end to grab-and-go.  Here are a few of my faves:
    • Oakville Grocery: This little gem is the oldest continually operated grocery store in California.  Their sandwiches are beyond amazing- the crab cake sandwich is a MUST.  And you can’t go wrong with their salt and vinegar chips- swoon!  Grab your sammy, a glass of wine and sit out on the picnic tables to enjoy the view or head out to your next tasting.
    • The Boon Fly Café:  Breakfast, lunch, or dinner- it doesn’t matter this place will not disappoint. The rustic cuisine and contemporary roadhouse atmosphere are the perfect mix.  Whatever you do, start with the signature Boon Fly donuts.
    • Bottega: Chef Michael Chiarello- need I say more.  But I will…you can’t go wrong with anything on the menu, but some of my faves are:  Insalata di Cavolini di Bruxelles, Polpo alla Griglia, and Pollo alla Diavola sul Mattone.  If you’re looking for something other than a wine, the cocktail with vodka, pomegranate ice cube and basil is LEGIT (see below).
    • Bouchon Bistro and Bakery:  This intimate French restaurant offers a bistro style atmosphere and upscale cuisine.  As if it couldn’t get any better, they own the bakery next door!  They serve the bread baked daily in the restaurant- perfect for soaking up every last drop of broth and sauce.  Some of my favorites:  Salade Maraîchère au Chèvre Chaud, Steak Frites (Duh), Moules aux Poireaux (save some bread for that goodness), Pommes Frites (say yes to the truffle), Choux de Bruxelles, and the macarons from the bakery are perfection.

photo (17)              photo (19)

photo (1)

Stay Fly

Flywheel indoor cycling studio has been one of my favorite ways to get fit.  This high-energy sweat fest combines cardio intervals, upper body strength training, and a little bit of bike dancing.  The environment is welcoming and the instructors are some of the best around.

I was lucky enough to attend a preview ride at their new Old Town location and it did not disappoint!  The space is incredible and includes a Flybarre studio space to tuck and lift your way to a perfect posterior.

Flywheel Old Town opens today so check out the new digs and give it a try!

photo (16)

What’s Brewing?

Happy National Coffee Day!  As an avid coffee drinker, there’s nothing better than a steaming cup of coffee goodness.  Using a French press is by far one of my favorite and only ways to brew at home.  After the drip coffee maker, it’s one of the easiest, least time-consuming ways to make a great cup of coffee.

French press makes coffee by steeping the grounds in hot water, and then pressing the grounds out.  Some people are intimidated by this method, but crafting your next cup is fairly simple.  Most recommend grinding your coffee beans each time you brew, but using a fresh bag of coffee grounds (rough and course grounds) works as well.  I know some of you reading this might actually shudder at the thought, but let’s be realistic and get down to basics.

I use a 32 oz French press at home and it makes about 6-8 cups.  Before you begin, it’s important to boil your water to around 195-200 degrees.  I gauge this by when my kettle whistles at me and don’t bother with a thermometer.  Again, simplifying the process.  Okay, let’s begin!


photo (10)


Step 1:

Remove the lid and plunger.  Use two rounded tablespoons of coffee for each 8 oz of water.  Note that coffee cups range from 6-8 oz.  For my press, that means the water goes up to the bottom of the silver band.  Tip:  I like to sprinkle ground cinnamon directly onto my grounds for extra flavor and antioxidants.

Step 2:

Using the proper temperature water, start slowly adding water to the pot.  Most of the coffee will float.  Stir gently once you have poured all of the water to the fill line.  The grounds should start to sink at this point.

Step 3:

The screen should be up against the bottom of the lid. Place the lid on the press. Many lids have a position that does not allow steam to escape, use this position if you have it.

Step 4:

Timing from the addition of the water, after a total of THREE to FIVE minutes you will need to start the plunge. The finer a grind you use, the shorter the time. I typically brew for five minutes.

Hold the lid with one hand and carefully push the plunger down, the screen will push the grinds to the bottom. If the filter screen is tilted and grinds are escaping, just remove it, give a quick rinse, and re-plunge.

It should take about 20 seconds, this is not a fast push, there is resistance and it gets a bit tougher as you go.

Step 5:

Pour, add your sugar and cream if you must, and enjoy. Don’t let the coffee sit in the pot, it will actually keep brewing. Also, be aware, there will be some grinds in the bottom of your cup, it is best not to go for the last drop!

What’s your favorite way to brew?